In this tutorial, we are going to learn how to create a new react-native project from scratch and set up our development environment using Expo CLI.
We have already covered the basics of react native in our previous article, do check it before moving ahead.
What is Expo CLI?
It is a command-line interface for Expo that comes with a developer tool that automatically runs our app in the browser using the commands in the terminal. The expo client allows us to run our app on a real device without the need to install it. The expo snack allows us to run our app in the browser and the expo SDK provides us the native functionality to work with react native.
Whether you are working on operating system MacOS or Windows or Linux, to get started with React native first we need to install the NodeJs.
So am assuming that you have installed the latest version of NodeJs and for verification just open up your system's terminal and just type node -v and if you see the version name then you have successfully installed the nodejs and if not then try again.

The benefits of installing Nodejs are that we have npm in our system so we can install the expo cli in our system using it.
So let's open up your terminal and then run the command.
npm install -g expo-cli

Note: Here -g stands for global and it means we installed our expo client globally in our system. So we can now access expo from any location or folder in our system.
After the successful installation of the expo, we are all set to create our new react native project. Now go to any directory where you want to create your react native project and then run this command:
Set-ExecutionPolicy Bypass -Scope Process
After running this command just type Y to answer yes for continuing. This will bypass all your execution policy in your system. This is required because whenever we create a new project we need the permissions of the system to execute that script in our system. So we set our system's execution policy to bypass, so that it will not interrupt our execution.

Now just run this command in your directory using Terminal and then choose the blank template and hit enter:
expo init YourProjectName
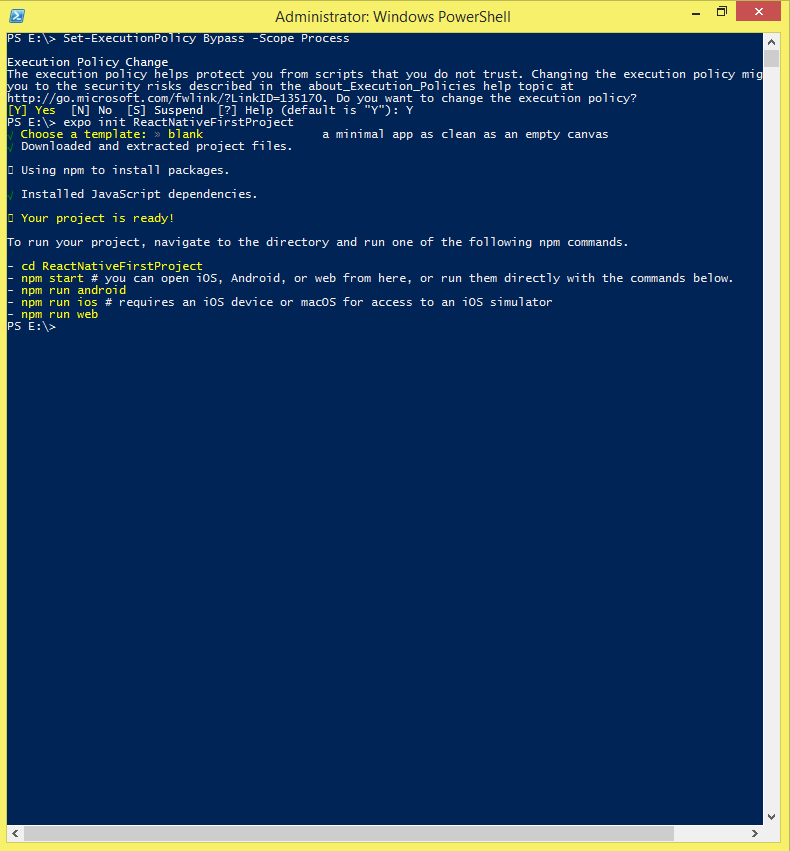
Here the YourProjectName is the name of your project that you can change according to your requirements. After all the dependencies are installed your first project is now ready now go to your project's directory using the below command:
cd YourProjectName
and then run the following command:
npm start

Your project will open on localhost in your default browser like as you see in the given image below:

Now you can download the Expo client on your real android and ios device and scan the QR code from your Expo client app. You will see that your app is up and running now on your device.


Now you can open your project folder in any code editor and start working on it.
You may also like: